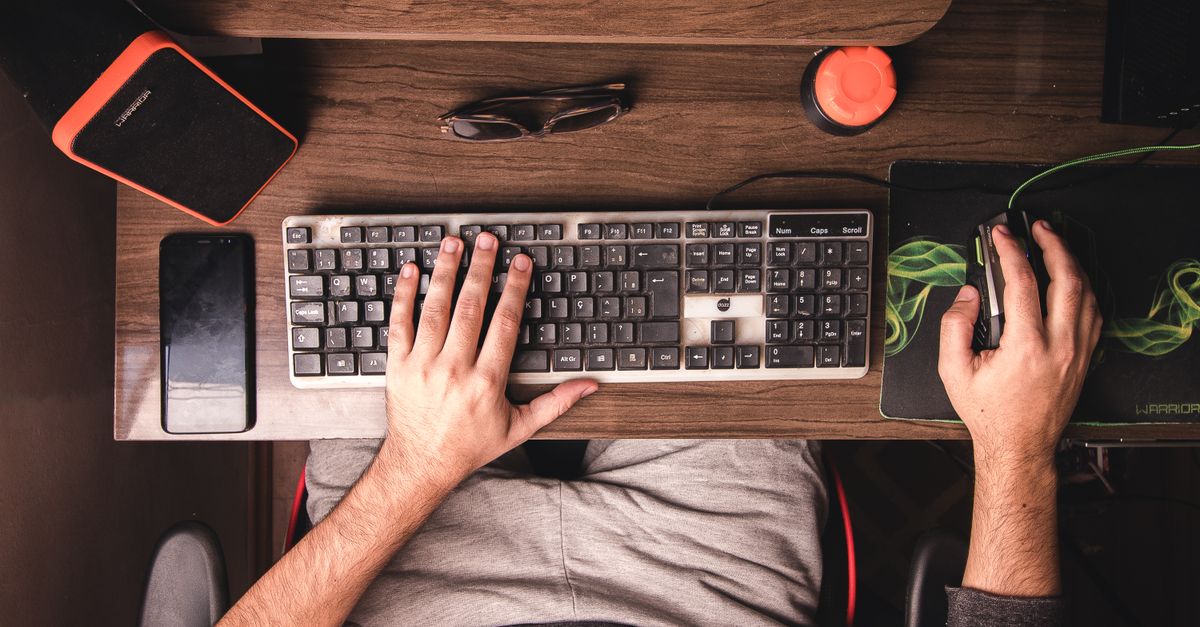
Why Your New Gaming Keyboard Feels 'Off' (And What Actually Works to Fix It)
You just unboxed your shiny new gaming keyboard. The reviews were glowing, the RGB is dazzling, and the price tag suggested premium performance. You plug it in, eagerly jump into your favorite game, and… it feels off. The keys feel mushy, or too stiff, your inputs don’t feel precise, or maybe you’re mistyping constantly. The tactile feedback is weird, the sound is annoying, or your hands ache after a short session. You start wondering if you made a mistake, or if this expensive piece of gear is actually worse than your old, cheap membrane keyboard.
I’ve been there more times than I care to admit. As someone who’s reviewed countless keyboards, torn them down, and even modded a few from scratch, I can tell you this feeling of ‘off-ness’ is incredibly common, and it’s rarely because the keyboard itself is inherently bad. More often, it’s a disconnect between expectations, subtle configuration issues, and a lack of understanding of what really makes a gaming keyboard feel good for you. You bought a tool without fully understanding how to wield it, and that’s perfectly normal. This isn’t about blaming you; it’s about empowering you with the knowledge to optimize your setup.
Key Takeaways
- Your new gaming keyboard likely feels ‘off’ due to uncalibrated software, misaligned expectations, or incorrect physical setup, not inherent flaws.
- The biggest culprit is often debounce delay in software; reducing it is key for crisp, responsive inputs, but too low can cause chatter.
- Physical factors like keycap profile, switch type, and stabilizer lubrication profoundly affect feel and sound, often requiring adjustment or replacement.
- Ergonomics and posture play a critical role; optimizing wrist position and desk setup can eliminate discomfort and improve performance.
- Customization extends beyond RGB to firmware settings and switch modifications; a truly ‘perfect’ keyboard is often a tailored one.
The Software Settings You Probably Missed (Debounce & Polling Rate)
Most modern gaming keyboards come with sophisticated software, but too often, we install it for RGB control and then forget about it. This is a huge mistake. The real magic, and often the source of your ‘off’ feeling, lies in settings like debounce delay and polling rate.
Let’s start with debounce delay. Every mechanical switch, when pressed, doesn’t just make a clean electrical contact. It ‘bounces’ a tiny bit, creating multiple rapid contact signals. The keyboard’s firmware (and often the software) has a debounce delay built-in to ignore these phantom signals and register only one press. If this delay is too high, your key presses will feel sluggish, unresponsive, and you might even miss rapid inputs entirely. If it’s too low, you’ll experience ‘chatter,’ where a single press registers multiple times.
In my experience, the default debounce setting on many gaming keyboards is surprisingly conservative, prioritizing error prevention over raw speed. For competitive gaming, you want this as low as possible without introducing chatter. I’ve often seen improvements in perceived responsiveness by reducing the debounce delay from its default (e.g., 5-10ms) down to 1-2ms in the keyboard’s software. Experiment with this. Go into your keyboard’s software (Razer Synapse, SteelSeries GG, Logitech G Hub, Corsair iCUE, etc.) and look for advanced settings related to key actuation or debounce. Lower it incrementally, then test it in a typing test or a fast-paced game. If you start seeing double inputs, raise it back up slightly. This alone can transform a ‘mushy’ feeling into a ‘crisp’ one.
Next, polling rate. This is how often your keyboard reports its status to your computer. A 1000Hz polling rate means it reports 1000 times per second, or every 1ms. Most gaming keyboards default to 1000Hz, which is good. However, sometimes due to system conflicts or older drivers, it might drop lower. Ensure your polling rate is set to the maximum your keyboard supports, usually 1000Hz (1ms). While debounce delay has a more noticeable impact on feel, ensuring a high polling rate guarantees minimal input lag overall.
Beyond these, check for any ‘gaming mode’ or ‘turbo’ settings. Sometimes these enable specific optimizations that can impact how inputs are processed. Disable any ‘key repeat’ settings unless you specifically need them for a particular task, as they can interfere with precise single-key presses.
The Physical Disconnect: Switches, Keycaps, and Stabilizers
Software fixes are often just the tip of the iceberg. The physical components of your keyboard play an even larger role in the ‘feel.’ Here’s where the most common disconnects happen:
1. The Wrong Switch Type for You
You bought a keyboard with a specific switch type, perhaps because it was popular, or you heard it was ‘good for gaming.’ But ‘good for gaming’ is subjective. Linear, tactile, or clicky – each offers a vastly different experience:
- Linear switches (e.g., Cherry MX Red, Gateron Yellow): Smooth, consistent travel from top to bottom. No bump, no click. Great for rapid, repetitive presses where minimal resistance is desired. However, they can lead to accidental presses if you rest heavy fingers on keys, and the lack of feedback can feel ‘mushy’ or ‘bottom-out’ harshly for typists.
- Tactile switches (e.g., Cherry MX Brown, Holy Panda): Feature a noticeable bump about halfway through the key travel, indicating actuation. This provides feedback without a loud click. Many find these a good balance for both typing and gaming, as the bump helps prevent accidental presses and provides a clear actuation point. If your linear switches feel too floaty, a tactile switch might be your solution.
- Clicky switches (e.g., Cherry MX Blue, Kailh Box White): Offer both a tactile bump and an audible click. These are satisfying for typists who love the feedback, but the noise can be distracting for gaming, and the reset point (when the key is ready for another press) is often higher than the actuation point, which can feel ‘slow’ in fast-paced scenarios.
My take: Many gamers default to linear switches like Reds. If your keyboard feels ‘off’ and you have Reds, consider if you’re bottoming out too hard. A lighter linear switch might feel faster, or a tactile switch might provide the feedback you’re subconsciously craving. Conversely, if you have Browns and they feel too slow, a linear switch could be the answer. Sometimes, the issue isn’t the switch type but the spring weight. A switch with a heavier spring (e.g., Gateron Black vs. Red) might feel more substantial and prevent accidental presses.
2. Subpar Keycaps
Keycaps are the direct interface between your fingers and the switch. Their material, profile, and thickness profoundly impact feel and sound. Most stock gaming keyboards come with thin, ABS plastic keycaps. While functional, they can feel cheap, slick, and contribute to a hollow-sounding ‘clack’ when bottoming out.
- Material: PBT plastic is generally preferred for its durability, resistance to shine, and slightly textured feel. It often makes the keyboard sound deeper and more premium. ABS can be fine if it’s thick, but thin ABS wears out quickly.
- Profile: Different keycap profiles (OEM, Cherry, SA, DSA, XDA) change the height and sculpting of the keys. Most gaming keyboards use OEM profile. If your fingers feel cramped or awkward, trying a different profile can be a game-changer. For example, a lower, uniform profile like DSA might feel less fatiguing than sculpted OEM if you’re constantly shifting your hands.
- Thickness: Thicker keycaps improve sound (less hollow) and feel more substantial.
My fix: Swapping out stock ABS keycaps for a good set of thick PBT keycaps is one of the most cost-effective upgrades you can make. It dramatically changes the sound profile from a high-pitched plastic clatter to a deeper thock, and the feel becomes more solid and less greasy over time. It’s like putting premium tires on a sports car.
3. Untuned Stabilizers
Large keys like Spacebar, Shift, Enter, and Backspace use stabilizers to prevent wobbling. On many stock keyboards, these stabilizers are unlubricated or poorly lubricated, leading to a rattling, scratchy, or ‘ticky’ sound. This can be incredibly annoying and make the entire keyboard feel cheap, even if the switches are good.
My fix: This is perhaps the most impactful physical modification you can make. Learning to lube your stabilizers is relatively easy and transforms the feel and sound of your large keys from a distracting rattle to a smooth, satisfying thock. You’ll need to carefully remove the keycaps, detach the stabilizers (if they’re plate-mounted), and apply a small amount of dielectric grease or a purpose-made switch lube (like Krytox 205g0). Many online tutorials walk you through this. Even if you don’t lube the switches, lubing the stabilizers is a must for a premium feel.
Ergonomics: It’s Not Just the Keyboard, It’s How You Use It
Sometimes, the ‘off’ feeling isn’t the keyboard at all; it’s your body’s interaction with it. Poor ergonomics lead to discomfort, fatigue, and perceived performance issues.
1. Wrist Position and Angle
Are your wrists bent upwards or downwards? Are they resting on your desk? Your wrists should ideally be straight and hovering over the keyboard, or gently supported by a low-profile wrist rest. A thick, high wrist rest can actually cause more harm by creating pressure points. If your keyboard has adjustable feet, try different angles. Many find a flatter angle more ergonomic than a steeply inclined one.
2. Chair and Desk Height
Ensure your chair and desk are at the correct height relative to each other. Your elbows should be at roughly a 90-degree angle, allowing your forearms to be parallel to the floor. This prevents shoulder tension and wrist strain.
3. Keyboard Size and Layout
If you’ve switched from a full-size to a compact 60% or TKL (Tenkeyless) keyboard, the adjustment period can be significant. Your muscle memory for modifier keys and navigation might be completely broken. This isn’t the keyboard being ‘off,’ but your brain catching up. Give it time, or consider if a slightly larger layout (like a 75% or 1800-compact) might be a better fit if you frequently use those missing keys.
My recommendation: Pay attention to how your body feels after 30 minutes of use. Are your shoulders tight? Wrists aching? Fingers fatigued? These are clear signs of ergonomic issues. Invest in a good ergonomic chair, adjust your desk, and consider a minimalist, low-profile wrist rest. Sometimes, the problem is not the tool, but the workshop.
Firmware Flashes and Advanced Customization
For the truly dedicated, a realm of deeper customization exists that can completely transform a keyboard, often resolving even the most stubborn ‘off’ feelings.
1. Custom Firmware (QMK/VIA/VIAL)
Many enthusiast-grade and even some mainstream custom keyboards support open-source firmware like QMK, VIA, or VIAL. These powerful tools allow you to remap every single key, create complex macros, add multiple layers, and fine-tune internal settings far beyond what manufacturer software offers. If your keyboard supports it, flashing custom firmware can unlock its true potential and allow you to tailor it perfectly to your workflow and gaming style.
For example, I often remap Caps Lock to Control on my Mac, or bind specific game actions to otherwise useless keys. The ability to create a ‘gaming layer’ that activates with a single key press, changing all keybinds temporarily, is immensely powerful.
2. Switch Modifications (Lubing, Filming, Spring Swaps)
This is a deep dive into the hobbyist world, but it yields incredible results. Lubing switches involves opening each switch and applying a thin coat of lubricant to the stem and spring. This drastically smooths out linear switches, reduces scratchiness in tactiles, and eliminates spring ping, leading to a much more satisfying and consistent feel and sound. It’s labor-intensive but incredibly rewarding.
Switch filming involves placing small plastic films between the top and bottom housings of the switch to reduce wobble. Spring swaps allow you to change the actuation force, making a switch lighter or heavier to press. These modifications go beyond simply buying a switch; they optimize it for your precise preferences. If you’ve tried different switch types and still feel something is missing, these modifications are the next step.
My advice: Don’t jump into this immediately. Start with debounce, polling rate, keycaps, and stabilizer lubing. If you’re still not satisfied, and you enjoy tinkering, then look into switch lubing tutorials. The difference can be profound, turning a merely ‘good’ keyboard into your ‘perfect’ one.
Frequently Asked Questions
Q1: My new keyboard feels ‘mushy’ compared to my old one. What’s the most likely cause?
A1: The most common culprit is often a high debounce delay setting in your keyboard’s software. Many manufacturers set this conservatively to prevent accidental double-typing (chatter). Try reducing the debounce delay to 1-2ms within your keyboard’s accompanying software (e.g., Razer Synapse, Logitech G Hub). If that doesn’t work, it could be the switch type (linear switches can feel ‘mushier’ if you’re used to tactile feedback) or thin, cheap keycaps contributing to a hollow bottom-out feel.
Q2: Why do my large keys (Spacebar, Shift) sound rattly and inconsistent?
A2: This is almost certainly due to unlubricated or poorly lubricated stabilizers. Stabilizers prevent large keys from wobbling but can rattle if there’s friction between their components. Lubing them with dielectric grease or a specialized switch lubricant (like Krytox 205g0) is a highly effective, relatively easy fix that dramatically improves the sound and feel of these keys. There are many video tutorials online demonstrating how to do this.
Q3: I’m getting a lot of accidental key presses with my new keyboard. How can I fix this?
A3: If you’re using linear switches (like Cherry MX Red), the lack of a tactile bump can make it easier to actuate keys unintentionally. Solutions include: (1) Increasing the debounce delay slightly (though this makes inputs feel slower). (2) Trying switches with a heavier spring weight. (3) Switching to tactile switches, which provide a physical bump before actuation. (4) Improving your typing posture so your fingers aren’t resting too heavily on the keys.
Q4: Are expensive custom keycaps really worth it?
A4: In my opinion, yes, a good set of thick PBT keycaps is one of the best upgrades for improving both the feel and sound of a mechanical keyboard. Stock keycaps are often thin ABS, which can feel slick, wear shiny quickly, and produce a higher-pitched, hollow sound. PBT keycaps feel more substantial, have a pleasant texture, resist shine, and produce a deeper, more satisfying ‘thock’ sound when bottoming out. The aesthetic upgrade is also significant.
Q5: I’m experiencing wrist pain after using my new keyboard. What should I check?
A5: This points directly to an ergonomic issue. Ensure your wrists are straight and either hovering above the keyboard or gently supported by a low-profile wrist rest. Your elbows should be at a 90-degree angle, with your forearms parallel to the floor. Check your chair and desk height, and avoid resting your wrists on the desk surface itself, as this can create pressure points. A flatter keyboard angle (using the adjustable feet) can also help.
In conclusion, a new gaming keyboard that feels ‘off’ is a common hurdle, but it’s rarely a death sentence for your purchase. By methodically addressing software settings like debounce, understanding the nuances of switch types, upgrading keycaps, tuning stabilizers, and optimizing your ergonomics, you can transform a frustrating experience into a highly satisfying one. Don’t settle for ‘good enough’; with a little effort and knowledge, your gaming keyboard can become an extension of your intent, performing exactly as you envisioned.
Written by Elias Vance
Hardware reviews, product teardowns, engineering insights
A former R&D engineer, Elias possesses an uncanny ability to dissect new hardware and explain its inner workings.
You Might Also Like

Why Your New Ultrawide Monitor Feels 'Off' (And What Actually Fixes It)
Just got an ultrawide monitor but it feels 'off'? Elias Vance explains why your settings are likely misconfigured, and how to fix scaling, aspect ratio, and game support for a truly immersive experience.
Why Your New Ultrawide Monitor Feels 'Off' (And What Actually Fixes It)
Just got an ultrawide? If it feels weird, you're not alone. Elias Vance explains the common pitfalls and actual fixes for ultrawide monitor setup.

Why Your New Keyboard Feels Gimmicky (And What Actually Works for Real Typing Bliss)
Don't fall for marketing hype. Discover why many new keyboards disappoint and the overlooked factors that truly enhance your typing experience.